Borsch or Borscht

level of difficulty: medium

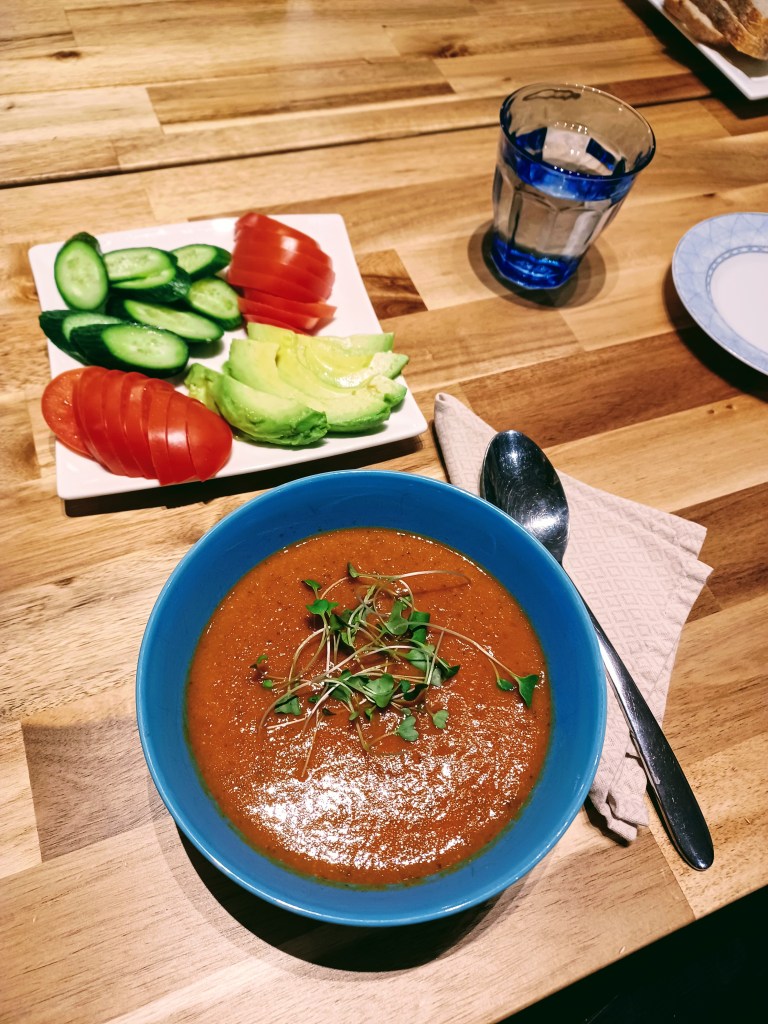
My baba used to say, “Borsch is not a soup, borsch is a meal!” The dish, so quintessential to eastern Slav kitchens, but also featured prominently on the tables across Central Asian “stans” (given the shared history that mixed peoples and foods across great distances (sadly not always by choice!)) but hailed as a Ukrainian invention (although this point is somewhat contested by Poles who occupied parts of Ukraine for centuries). The spelling of the name of the dish isn’t settled either : the Slavs call it borsch – without the “t”; The “t” on the end comes from Yiddish as the soup was first introduced to North America by the Ashkenazi Jewish immigrants from eastern Europe. The soup (read: meal) is as rich in flavour as it is in history. It exists in regional variations, but always includes queen beet. A dish that truly tells a story rich in history and unique flavour so comforting to millions of people in the Eurasian region of the world.

The dish is not complicated to make, but I assessed it as at a level of difficulty “medium” because it may be unfamiliar to some readers, but also there are a few steps involving different techniques – not quite a one pot meal. But it is absolutely worth your time to make this hearty, sweet and sour, nutritious king soup that’s, really, a meal.
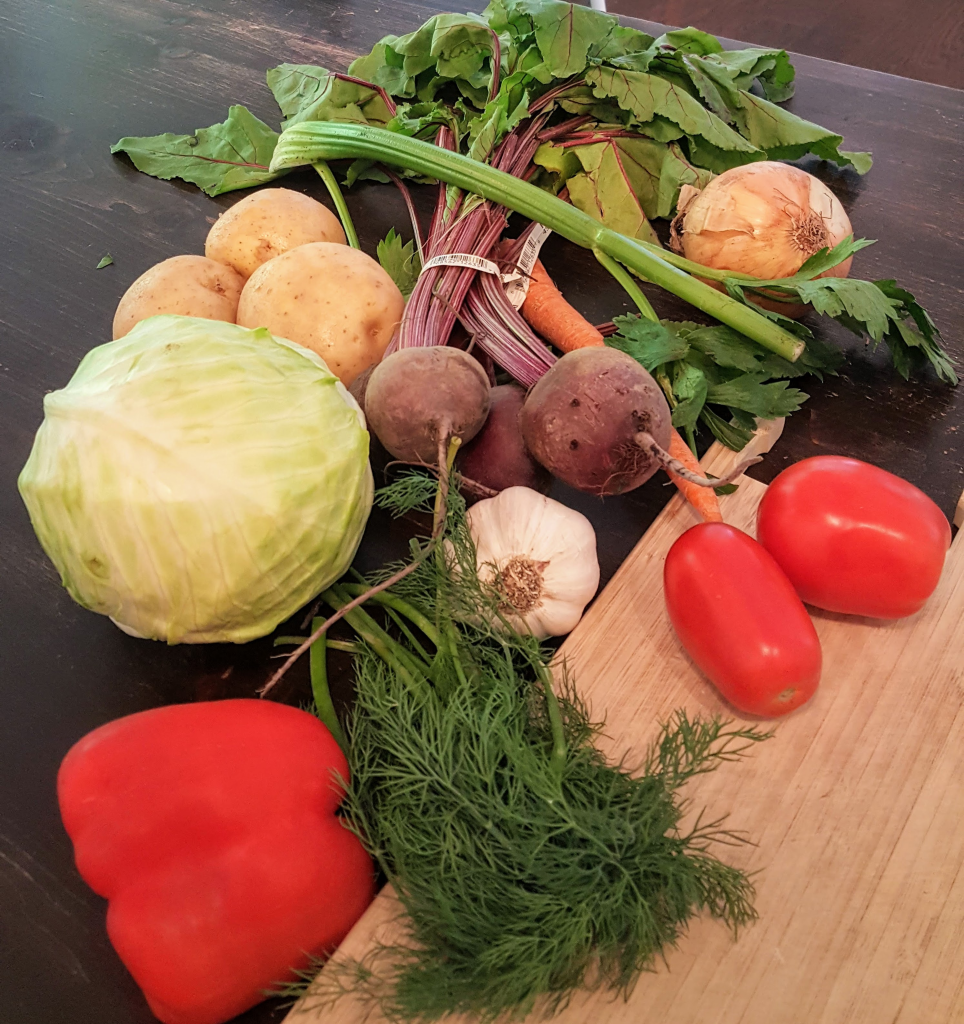
Ingridients

  • 1 medium yellow onion
  • 1 medium carrot
  • 1/2 sweet red pepper
  • 1 feather of celery (optional)
  • 2 medium beets
  • 1 large potato
  • 1/3 of cabbage head
  • 2 cloves of garlic
  • 1 small tomato
  • 2 table spoons of tomato paste
  • 5-6 cups of Stock (chicken, beef, pork)
  • fresh dill
  • 1/2 teaspoon dried oregano
  • salt and pepper to taste
  • sour cream for garnish (optional)

Method

Step 1

  1. Peel and dice the onion, red pepper, carrot, and celery (if using)
  2. Melt some butter in the skillet and add diced veggies (onion, pepper, and carrot).
  3. Chop the tomato and add to the skillet as well.
  4. Peel and grate one of the two beets.
  5. Once the skillet veggies have softened, add the shredded beet and sauté everything for about 10 minutes.
  6. Peel and press or dice the garlic and add to the skillet vegetables. Add tomato paste. Add oregano. Season with salt. Sauté everything stirring for a couple of minutes. Turn the heat off and set aside.

Step 2

  1. Add your stock or water to a large pot and bring to boiling temperature.
  2. While the water is coming to temperature, thinly shred or dice the cabbage.
  3. Add to your pot.
  4. Peel and cube potatoes and add them to the pot too.
  5. Peel second beet, cut into quarters and add to the pot.
  6. Season with salt and simmer for about 15 minutes or until potatoes and the cabbage are tender.
  7. Add the vegetables from the skillet.
  8. Add some squeezed lemon juice, black pepper, and chopped fresh dill.
  9. Taste and adjust for salt if needed.
  10. Turn off and let stand for a few hours to deepen the flavours.
  11. Enjoy reheated with a dollop of fresh sour cream.

Tips

  • Beets are very juice, and the juice is very red. Expect staining on your wooden cutting board and on your hands. You could use rubber gloves if you do not wish to (temporarily) stain your hands.
  • You can shred the beets or julienne them instead. It is really a personal preference. Experiment and see what texture suits your taste!
  • In addition to dill, you can also add parsley, which a wonderful balancing herb.
  • For a spicier borsch(t) feel free to add some spicy paprika or a red chili pepper.
  • Sour cream garnish is classic, but (bear with me..) some folks enjoy borsch(t) with a teaspoon of mayonnaise. Give it a try – just mix and enjoy!
  • Borsch(t) develops flavour for hours after the cooking process has finished. So it will taste better the next day and the day after that. A fantastic dish to make ahead and will last properly refrigerated and reheated for up to four days.
  • Best stock for borsch(t) is made from meaty bones – so meat and bones. Chunks of boiled meat are a wonderful addition to the plate also.
  • If you desire a deeper purple colour, add lemon juice to shredded beats immediately after you add them to the sauté pan.
  • Some folks swear by adding a teaspoon of sugar to borsch(t) for a flavour boost.

Mistakes to avoid

  • Go easy with adding garnish sour cream or mayonnaise. A bit goes a long way. You can always add more to taste!
  • Keep an eye on your sautéing veggies not to avoid burning them while you are busy shredding the cabbage!
  • Keep an eye on the liquid to solid ratio; borsch(t) should be hearty, not watery, but with enough liquid with enjoy. What can I say, it`s a balancing act!

Spiced Red Lentil Soup

Difficulty level: easy

Have you ever been to a spice market in the Middle East? It`s feast for the senses as the mosaic of colourful spices stretch as far as the eye can see their fragrance permeating the air capturing your imagination and taste buds all at once. Whenever I make this red lentil soup, I am always taken back to the bustling sounds and sights of spice market in a far away exotic land.

The spice blend in this soup offers a rich, warming flavour as toasted cinnamon and cumin work together to create a wonderful complexity in this hearty dish.

Taste aside, both cinnamon and cumin pack a healthy punch through their well established anti-inflammatory properties. Combined with the lycopene boasting tomato and folate rich red lentils – this soup is an immune boosting powerhouse for health!

Very easy and fast to make requiring just a few ingredients, this recipe is great when you are short on time, but still want to turn out something nutritious and interesting for your friends and family. I also love packing this soup into thermoses and bring along on a ski through a winter forest to enjoy at a cabin by a wood stove with grilled cheese sandwiches. What a feast!

Ingredients

  • 5 cups of stock (chicken or vegetable)
  • small yellow onion
  • 3 garlic cloves
  • 1 teaspoon of cumin
  • 1 teaspoon of cinnamon
  • 2 small zuccinis
  • 3/4 cups of red lentils
  • 2 tablespoons of olive oil
  • 4-6 table spoons of tomato paste
  • cilantro
  • lemon
  • salt and pepper

Method

  1. Peel and dice the onion, chop garlic
  2. Rinse the lentils
  3. Heat up olive oil in a pot on medium heat, once oil is warmed add the onions
  4. Fry the onions until softened and starting to become translucent – 2-3 minutes
  5. Add garlic, cinnamon, and cumin (your kitchen will smell amazing!!); fry for a minute, constantly stirring taking care not to burn the spices
  6. Add lentils and stock, bring to boil, lower heat and cook for 5 minutes
  7. Chope zucchinis and add them to the pot
  8. Add tomato paste – here you can go according to your taste. I enjoy my soup with a robust tomato flavour, so I add lots, but you do you 🙂
  9. Season with salt and cook for another 15 minutes until the zucchini is tender
  10. Turn the soup off, add chopped cilantro and a squeeze of lemon to tie all the flavours together
  11. Soup can be puréed if desired

Tips

  • If you have no stock on hand, just use water – the result will still be delicious!
  • This recipe is easily customisable – you can add ginger, ground coriander, substitute lemon with a few drops of lime, or use parsley instead of cilantro. Be creative and have fun!
  • Add harissa spice to up the heat and flavour.
  • Pair it with grilled cheese sandwich for a filling lunch.

Mistakes to avoid

  • You can play around with the cumin to cinnamon ratio, but be careful with adding too much cinnamon as the result could be bitter.
  • Take care when reheating the soup – do not let it boil or the texture is lost.

Frozen Lemons

Difficulty level: very easy

Lemons. Zesty, citrusy, fresh – help us brighten flavours and add balance and colour to our dishes. However, a little lemon goes a long way and often, we don’t end up using a full lemon in our dish.. so, what to to do with the left over half to save it from the shrivelled up destiny in the fridge?

I learned this clever hack from my parents who take their left over lemon halves, slice them up into rounds or half rounds and freeze them! Then any time you wish to have a glass of refreshing lemon water on a hot summer day or to cool your tea while instantly infusing it with the wonderful lemony flavour – you have frozen slices all ready to go! They tend to defrost almost immediately once in water and are handy to have on hand.

Whats more, considering the distance lemons have to travel to get our north american store shelves, using every last bit of the citrusy goodness is a good way to honour the labour and the journey that goes into getting these nutrient dense fruits to our kitchens.

As for nutrition, lemons are rich in vitamin C, low in calories, and contain other health promoting minerals and oils that help lower risk of heart disease, cancer, and kidney stones. Lemons are also abundant in pectin, which a type of soluble fiber that helps lower blood sugar.

Method

  1. slice lemons into rounds or half rounds
  2. arrange the slices, spaced out, onto parchment covered baking sheet
  3. place the baking sheet into the freezer for a couple of hours
  4. once the slices are frozen quickly transfer them to a plastic ziplock bag and seal tightly until ready to use
  5. For optimal taste use within a month or two

Tips

  1. removing as much air as possible from the freezing bag would help prevent freezer burning the lemon slices
  2. frozen lemon slices can be a great addition to smoothies for a nutritional punch and to cocktails as they help keep the drink cool without adding any extra water unlike melting ice cubes
  3. frozen lemon slices are not ideal for decorating deserts, so for creating beautiful looking deserts opt for a fresh lemon (and freeze the left over lemon for tea!)
  4. lemons are high in pectin – a type of fiber necessary for adding jelly consistency to our jams. use frozen lemons when making berry jam for added pectin and flavour.

No Churn Ice-Cream

Difficulty level: Easy

Home made ice-cream is always a delight. This easy, luxuriously creamy and delicious recipe that comes together in minutes is sure to impress! A perfect compliment to your coffee for a fabulous Affogato; an ideal pairing for an apple pie; even simple scoops in a bowl topped with roasted peanuts – yum and yum.

Now, the amazing part about this dish is that it requires only three ingredients and about 5 minutes of your time (plus six hours in the freezer).

Enjoy the basic vanilla recipe or develop a signature ice-cream flavour all of your own!

You can mix in nuts, fruit, Oreo cookie bits or chocolate chunks. Experiment and have fun!

Recipe

  • 1 can of sweetened condensed milk (14oz)
  • 2 cups of heavy cream (35%)
  • a teaspoon of vanilla extract
  1. place the container you will store your finished ice-cream in the freezer
  2. in a large bowl mix vanilla and condensed milk; set aside
  3. with a mixer whip the heavy cream to stiff-peaks, but do not overmix!
  4. fold 1 cup of whipped cream into the condensed milk mixture to loosen
  5. fold in the remaining whipped cream
  6. quickly transfer the mixture to your cold storage container and return to the freezer for about 6 hours until firm.

Tips

  • This ice-cream disappears fast, so I would advise make a double batch right of the bat! 🙂
  • The ice-cream thaws quicker than store bought ice-cream, so take it out of the freezer just a couple of minutes before serving and then promptly return to the freezer to avoid thawing it too much.
  • Place the container that you will use to store your ice-cream in a freezer ahead of time to ensure it is as cool as possible when you add the mixture.
  • If you prefer your ice-cream less sweet, reduce the amount of condensed milk by a third and add a couple of two tablespoons of a flvour (ex: expresso powder or your favourite booze)

Mistakes to avoid

  • Don’t be tempted to skip the folding step – it requires a bit of patience and care, but crucial to achieving that wonderful consistency. If you whip condensed milk with the cream, you will reduce the air content in the ice-cream and make it unpleasantly dense.